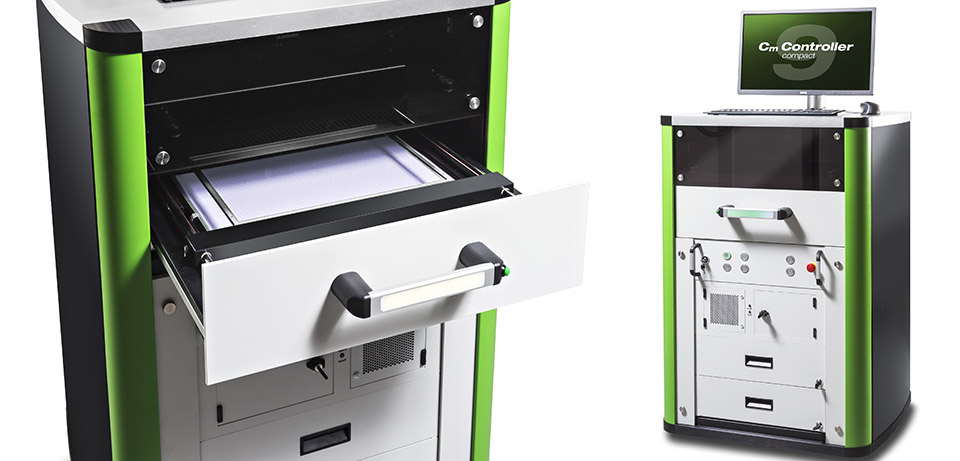
- Dimensions (LxWxH): approx. 746 x 675 x 1510 mm
- Working height: approx. 1150 mm
- Weight: approx. 185 kg
- Three-axis system
- Working range: approx. 340 x 300 x 5 mm
- Extendable universal measuring plate holder for measuring plates up to approx. 340 x 240 mm
- Camera system with telecentric optics and an image field size of 6 x 5 mm
- Transmitted light illumination
- Wheel system
CmController 9 : Latest design, improved ergonomics, faster and more accurate than its predecessors

CmController 9
The CmC9 is our high-end model and the latest member of the CeTaQ CmController family. During development, the focus was on increasing the measuring speed while improving the accuracy at the same time. Its optimized operating concept shortens setup times. An LED indicator in the handle allows a quick view of the current operating status.
The CmC9 comes with the CmController Software CmCStat6.0 Expert already included. Its extended range of functions enables e.g. the simultaneous inspection of several placers in one line. It also includes improved algorithms when using cluster layouts. Both together offer the possibility to use the maintenance window optimally to get a quick overview of the placement accuracy.
The software CmCStat6.0 allows the planning, analysis and archiving of measurements. With the Expert Level an extended range of functions is available. This allows the accomplishment of a wide range of test tasks.
- Suitable for determining the positioning accuracy of:
- SMT placement
- SMT screen printer
- SMT dispensers
- SMT laser labeling systems
- SMT routers
- Guarantee of traceability of measurement results through documentation of the lines and machine configuration in a database
- Individual test plan design with regular or free arrangement of the test points
- Testing of individual machines or simultaneous testing of several machines in the same line with the same range of components and the same specification.
- Use of real and ideal SMT components or glass dummies
- IPC 9850 compatible test plans
- Consideration of different head/nozzle/camera configurations for test planning and evaluation
- Support in finding the causes for deviations
- Grouping of measured values with regard to affiliation, e.g. to certain heads
- Extensive graphical representation of measured values
- Trend analyses
- Simulation of corrections
- Calculation of capability parameters according to the percentile method
- Support of different distribution models
- Easy creation of test reports in PDF format
- Export of measured values in various data formats e.g. CSV and DFQ
Vision software for carrying out the measurement.
- Highly accurate and robust correlation algorithms
- Improved angle measurement on chip components
- Increased measurement speed for test plans with cluster layouts
The measuring accuracy is checked by means of a calibrated measuring plate of type MPL00 based on IPC 9850, which fulfils the requirements mentioned there with regard to measuring instrument capability and reproducibility for the following process limits to be verified.
The measuring speed depends largely on the underlying test layout. For this reason, the following information refers to the measurement with the MPL00, which is also used to prove the measuring instrument capability. For the test the vision software CmCVis2 is started and the measuring plate zero point is defined.
